
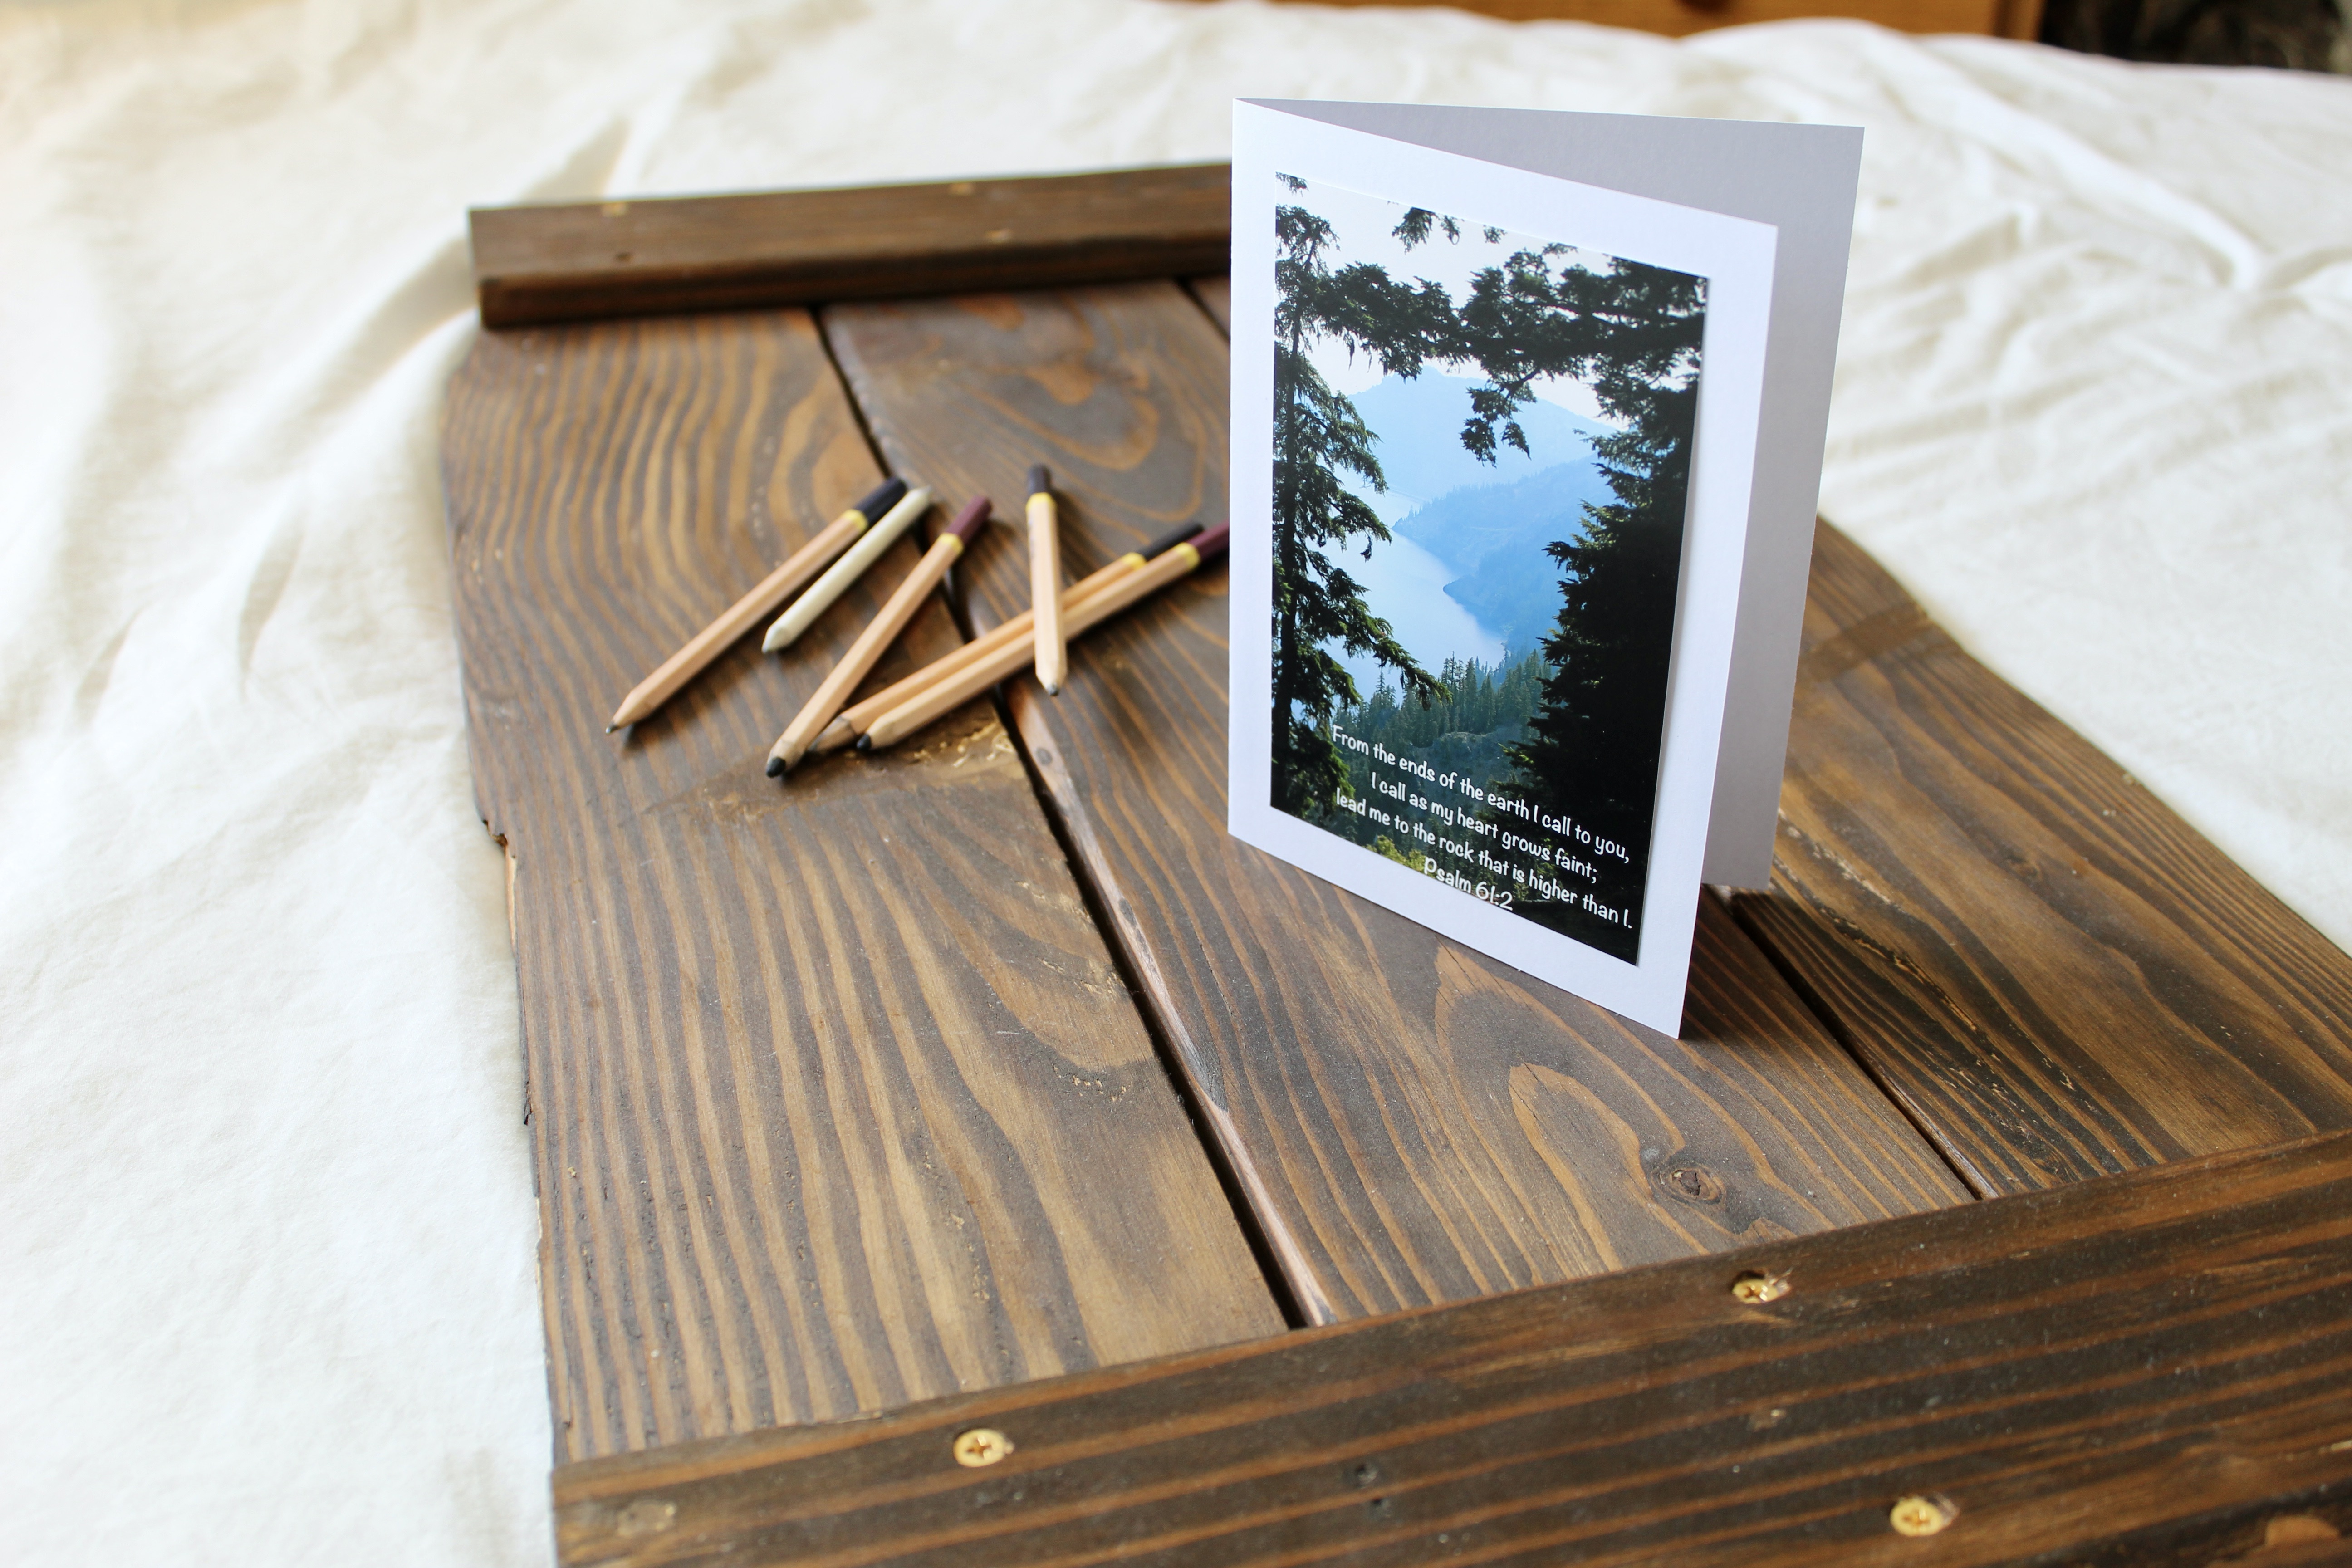
Who doesn’t love getting happy mail? I know cards and letters are such an encouraging thing to receive, especially when someone takes the time to make one themselves. These DIY Greeting Cards do not take a lot of effort and can be a really fun and simple way to show someone you are thinking of them!

It is so much fun to receive cards and letters! Any time I receive a note from a friend or family member, it can really make my whole day. Knowing that they were thinking of me is so very special.
Often times though, I think people get busy or feel intimidated about hand made cards. They don’t think they could do it themselves, or they don’t feel like they have the time. While I know we are all trying to stretch the hours in our day, I also know that creating your own DIY greeting cards is a lot easier than people think!

How to Make Greeting Card Cover with Canva:
The cover of the greeting card is what can be the most fun to create, or the most complicated. Most of the time, I enjoy creating simple DIY greeting cards that display a beautiful or fun photo with a little message. This card design can easily be customized to match your message, and it is super easy to create! That’s a win-win in my book!
While there are many different ways to add text or graphics to an image, Canva is the best one I have used. From what I know, it can be used on all devices, phones included, and it is available for free. If you have never used Canva before, don’t worry! I will show you how to design a greeting card on the computer with Canva in the tutorial below.

How to Add Text to a Photo with Canva:
DIY Greeting Cards Ideas:
DIY greeting cards are perfect for so many occasions and even if you are just thinking of someone. If you are needing some design or message ideas, here are a few to choose from:
- “Thinking of You”, “Missing you”, “Just wanted to say hello!”: For whenever you want to send a note!
- “Wishing you the best!”, “Congratulations!”, “Celebrating with you!”: For times of celebration, such as a wedding, graduation, birthday, or baby being born.
- “Praying for you”, “Sending love”, “Get well soon”: Could be used in times of sorrow or after an accident or illness.
- Other: There are so many options for messages in greeting cards! Some other ideas might be to add a Bible verse, special quote, joke, or other fun message to your photo!

Love to craft? Sign up for my newsletter here!
Supplies:
- Photo
- Blank Cards with Envelopes
- Double Sided Tape or Tape
- Pen or Pencil
I have loved using these precut blank greeting cards! They come with an envelope and are made with a heavier weight paper, which makes assembly and writing your note so much easier. The ones I have listed comes with the option of a 40 pack or 100 pack in white. However, there are so many color options available. Grab the one that works best for you!


How to Make Greeting Cards at Home Step by Step
Notes on Making Cards at Home:
- Create the photo with the message that will be the design or cover of your greeting card first. This will need to be printed before you start. Find out how to do this by watching the video tutorial above!
- I love using these precut blank cards because they come with corresponding envelopes and are so simple to use as a base! However, you could use a home made version by cutting a 10in. by 7in. piece of cardstock paper out. Then you would fold it in half and make your card. You would also need to make an envelope as well.
- You can use double sided tape or regular tape to attach your photo to the card. I would not use glue as this can cause damage to the photo paper.

Making a Homemade Greeting Card:
- Start by creating your card cover by adding and editing the photo design for the cover of your card. Add the message you desire, and then download and print either at home or with a service of your choice.
- Once you have your photo, you will just need to attach it to your blank card. If you are cutting out the cardstock base yourself, you will need to cut out a 10 inch by 7 inch rectangle to then fold in half as well as an envelope to match.
- Attach the photo to your card base with double sided tape or regular tape folded over on itself. Press the photo down gently but firmly to secure it to the card.
- Write your message on the inside.
- Address your envelope.
- Stick your card in the envelope, and send it on its way!
It really is that simple! While this is a very easy level DIY greeting card, it is a great place to start! Then you can level up your card making game from here as you wish. Or just make these cards as often as needed! Personally, I like to keep some on hand to send to friends or family whenever I like. Hopefully you enjoy making your own cards too!
I hope you enjoyed this blog post! Please like and subscribe to my blog if you would like to see more content like this, and share with others! If you want to keep up with me on Instagram or Facebook, you can find me @godsgiftofcreativity on either platform.
Thanks for creating with me!
-Chelsey
Hi there! I’m Chelsey!
Welcome to my blog God’s Gift of Creativity! Join me as I share my love for crochet, crafts, and cooking and show you how you can do it too!


Leave a Reply