
Learning to seam pieces together can be really intimidating for beginner crocheters, but it doesn’t have to be! There are some really simple ways to seam crochet pieces together that don’t take a lot of sewing knowledge and that will still look wonderful. I’ll show you five different ways you can seam your project that are quick for a beginner to learn and use. So grab your crochet hook and yarn needle, and let’s get to work!
When I discuss seaming with beginner crocheters, most of them feel intimidated right away. The process of taking two crochet pieces, or ends of a single piece, and attaching them causes them to panic. If this is you, you don’t need to panic! I will help you through this process by arming you with some new information about a few techniques you probably already know. Plus, I’ll give you a couple new skills to try out in your next piece.
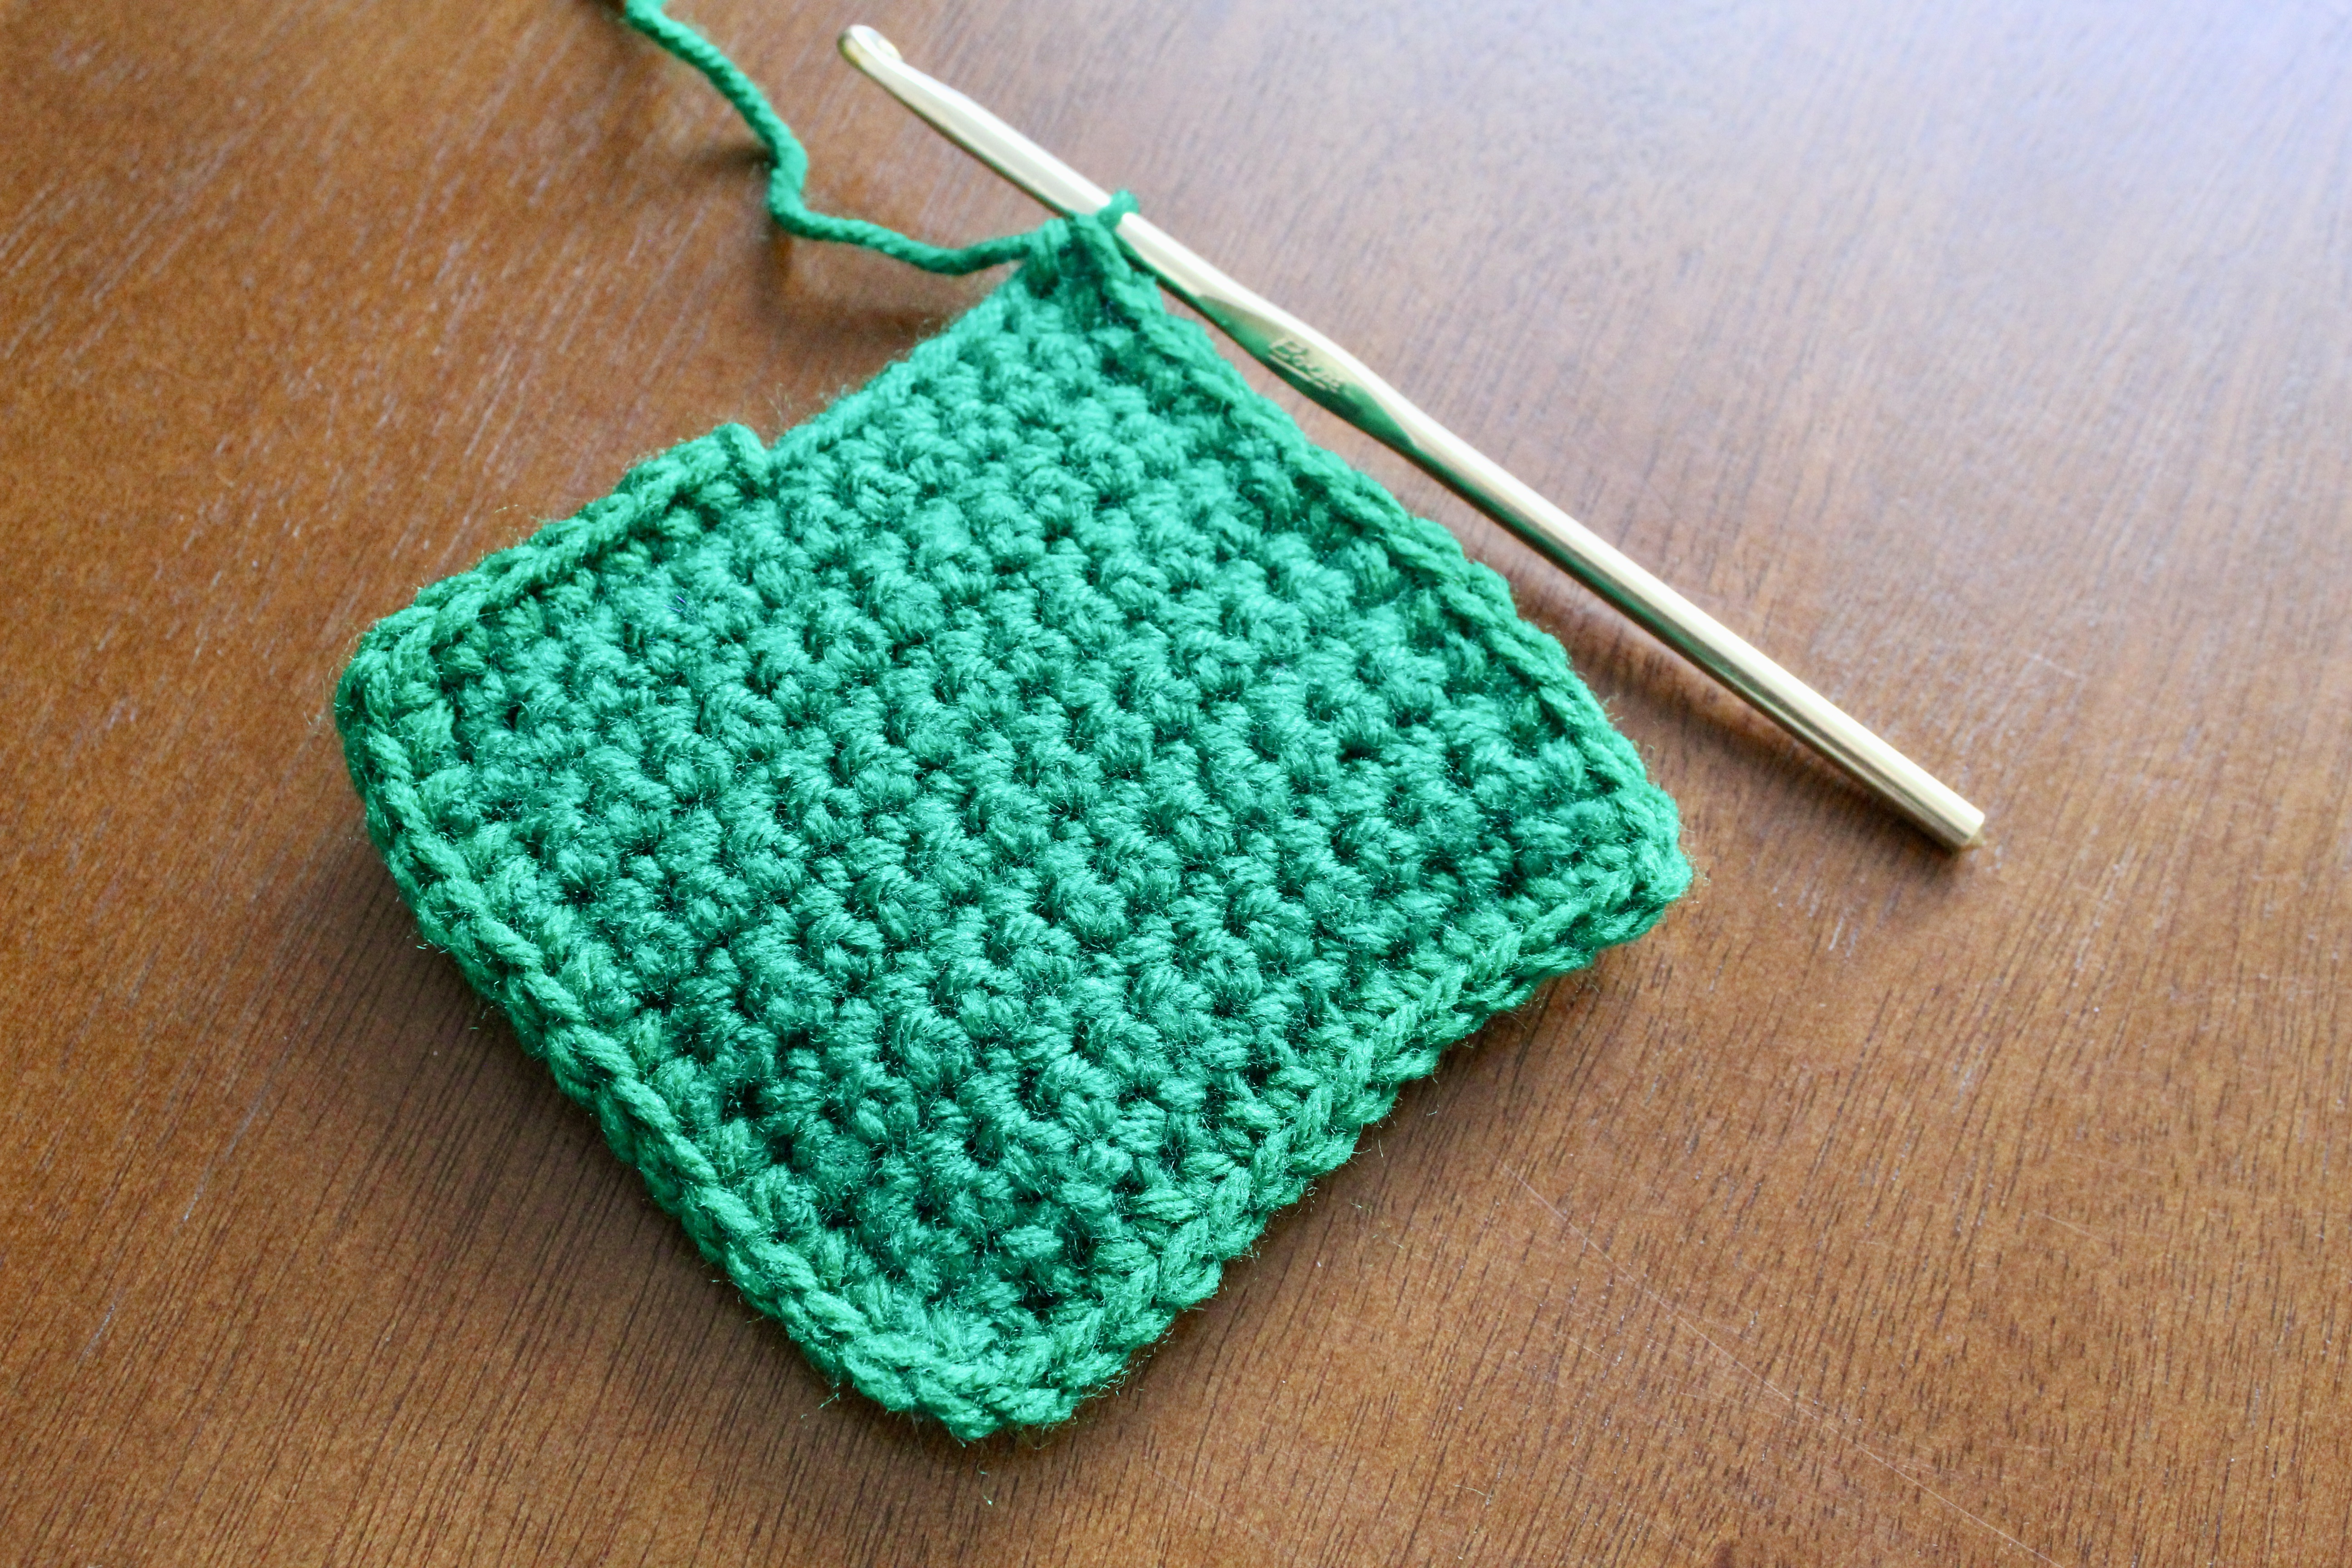
Single Crochet
The single crochet stitch is a great way to easily attach two pieces. As an added bonus, you can also use the single crochet stitches as a border at the same time! Many beginners and even experienced crocheters use the single crochet stitch for a myriad of projects. The best way to do this is by following these steps:
- Line up the edges that you want to seam.
- Attach the yarn by using the hook to pull it through both pieces, and chain 1.
- Single crochet across and be sure to insert through the tops of both corresponding stitches in the two pieces.
- Repeat Step 3 across. Fasten off, and weave in ends.
Be sure to crochet with tension consistent throughout as this will help the pieces to not be scrunched together or too loose.

Slip Stitch
The slip stitch is a classic way to seam granny squares and lots of other types of projects! It is a quick and simple way to seam and is really easy for beginners to pick up since they can use a basic crochet stitch. To slip stitch edges together, follow these steps:
- Line up the edges that you want to seam.
- Attach the yarn by using the hook to pull it through both pieces, and chain 1.
- Slip stitch across, being sure to insert through the tops of both corresponding stitches in the two pieces.
- Repeat Step 3 across. Fasten off, and weave in ends.
Be sure to crochet with looser tension consistent throughout as this will help the pieces to not be scrunched together or too loose.
Also, you will want to check your pattern to see if you should insert your hook through both loops of each stitch, or if you should only insert in one loop from each stitch.
Mattress Stitch
The mattress stitch is the first stitch in this group that you will use the yarn needle as your seaming tool. The mattress stitch is a great stitch to use for garments as it lays flat and is more hidden than other seaming methods. While you will need to use hand sewing techniques, this stitch is easy to learn and use.
Follow these steps:
- Line up the edges that you want to seam.
- Attach the yarn by using the yarn needle to pull it through both pieces, and tie off.
- Starting with the seaming yarn on the outside of one piece, you will then thread your needle through the next stitch for the second piece on the inside of the seam, and pull through. (Example in video)
- Continue to follow step 3 across the seam line. Fasten off, and weave in ends.
Be sure to sew with consistent tension throughout as this will help the pieces to not be scrunched together or too loose. You don’t want anyone to notice the seam line.
Whip Stitch
The whip stitch also uses the yarn needle as the seaming tool. The whip stitch is a less complicated seaming technique than the mattress stitch, and it works up really quickly! The whip stitch is a very repetitive stitch that is easy for even those who are not fans of sewing to use.
Follow these steps:
- Line up the edges that you want to seam.
- Attach the yarn by using the yarn needle to pull it through both pieces, and tie off.
- Starting with the seaming yarn on the outside of one piece, you will then thread your needle through the next stitch for the second piece on the outside of the seam, and pull through. (Example in video)
- Continue to follow step 3 across the seam line. Fasten off, and weave in ends.
Be sure to sew with consistent tension to avoid an irregular seam line.
Also, this stitch is best done with the same color yarn as the two pieces you are using since the seaming yarn will be slightly visible when finished and turned right side out.

Basic Sewing Stitch (The Running Stitch)
The most basic sewing stitch, also called the running stitch, is the final stitch in this group, and it also uses the yarn needle. This seaming method is the most basic you can get, and it utilizes a skill you probably already have experience with. If all of the above seaming methods have been intimidating for you, then I suggest you try out this stitch as a way to practice and get the hang of seaming your crochet work.
Follow these steps:
- Line up the edges that you want to seam.
- Attach the yarn by using the yarn needle to pull it through both pieces, and tie off.
- Starting with the seaming yarn on the outside of one piece, you will then thread your needle through the next stitch on the same side, and through both pieces. Pull through. (Example in video)
- Continue to follow step 3 across the seam line. Fasten off, and weave in ends.
Be sure to sew with consistent tension to avoid an irregular seam line.
This stitch will leave a slight bump where the seam is, but it is a great way to get started with seaming your crochet projects.
Want to stay up to date?
I hope you enjoyed this blog post! Please like and subscribe to my blog if you would like to see more content like this, and share with others! If you want to keep up with me on Instagram or Facebook, you can find me @godsgiftofcreativity on either platform.
Thanks for creating with me!
-Chelsey
Hi there! I’m Chelsey!
Welcome to my blog God’s Gift of Creativity! Join me as I share my love for crochet, crafts, and cooking and show you how you can do it too!


Leave a Reply